Wild garlic pasta

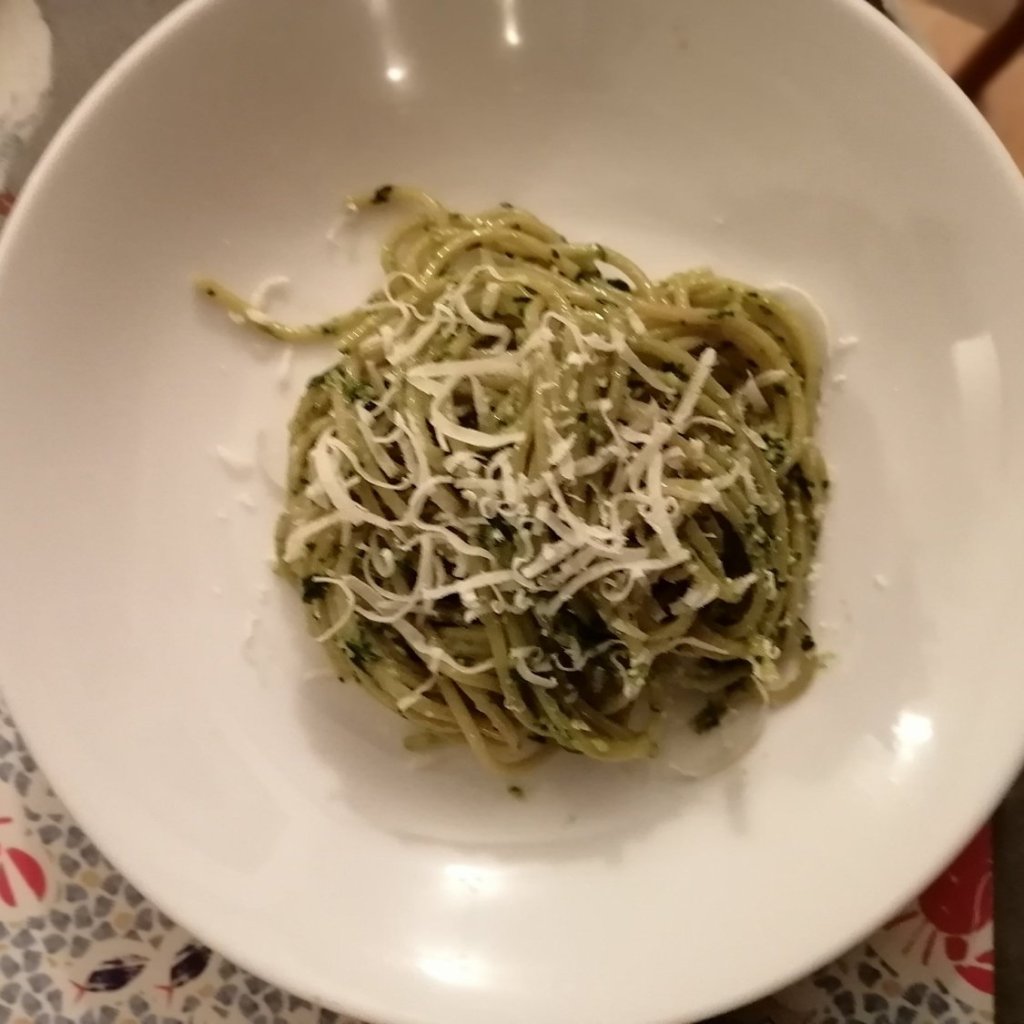
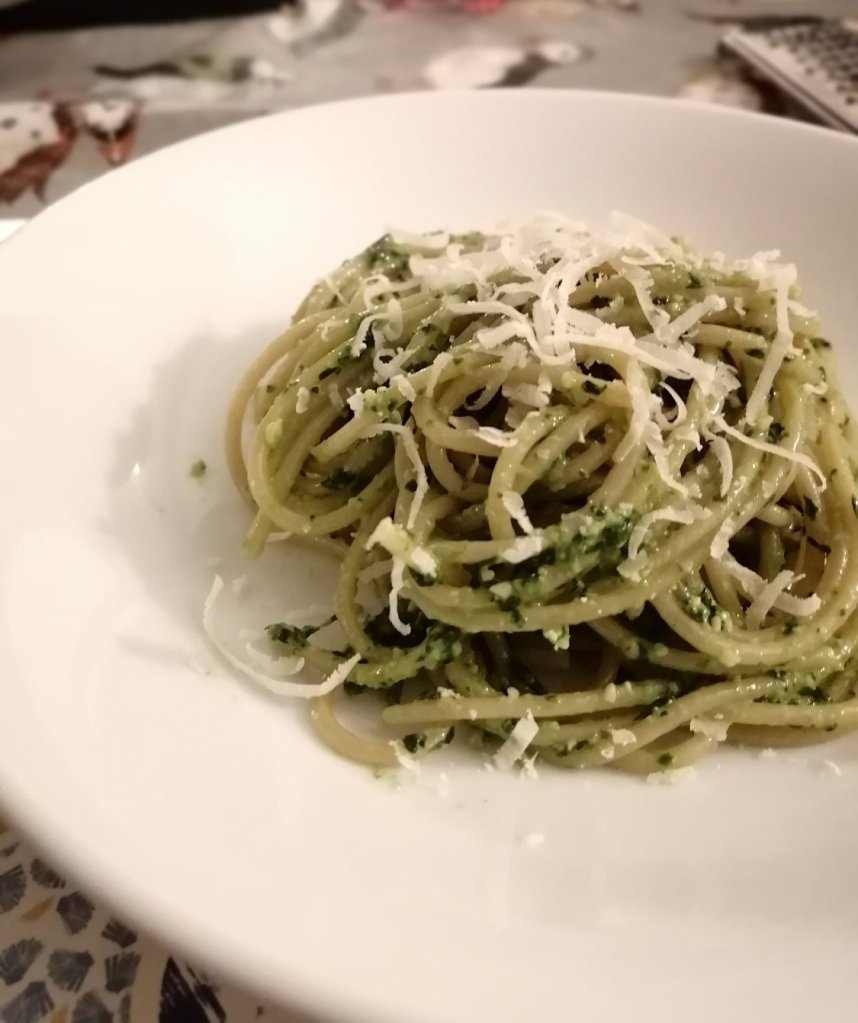
This delicious recipe is oh so simple to create and a big hit with my kids who, usually averse to anything green, have renamed it seaweed pasta. The recipe can be used wherever regular pesto is called for. I find it works well on flatbreads, swirled into houmous or dotted on a salad.

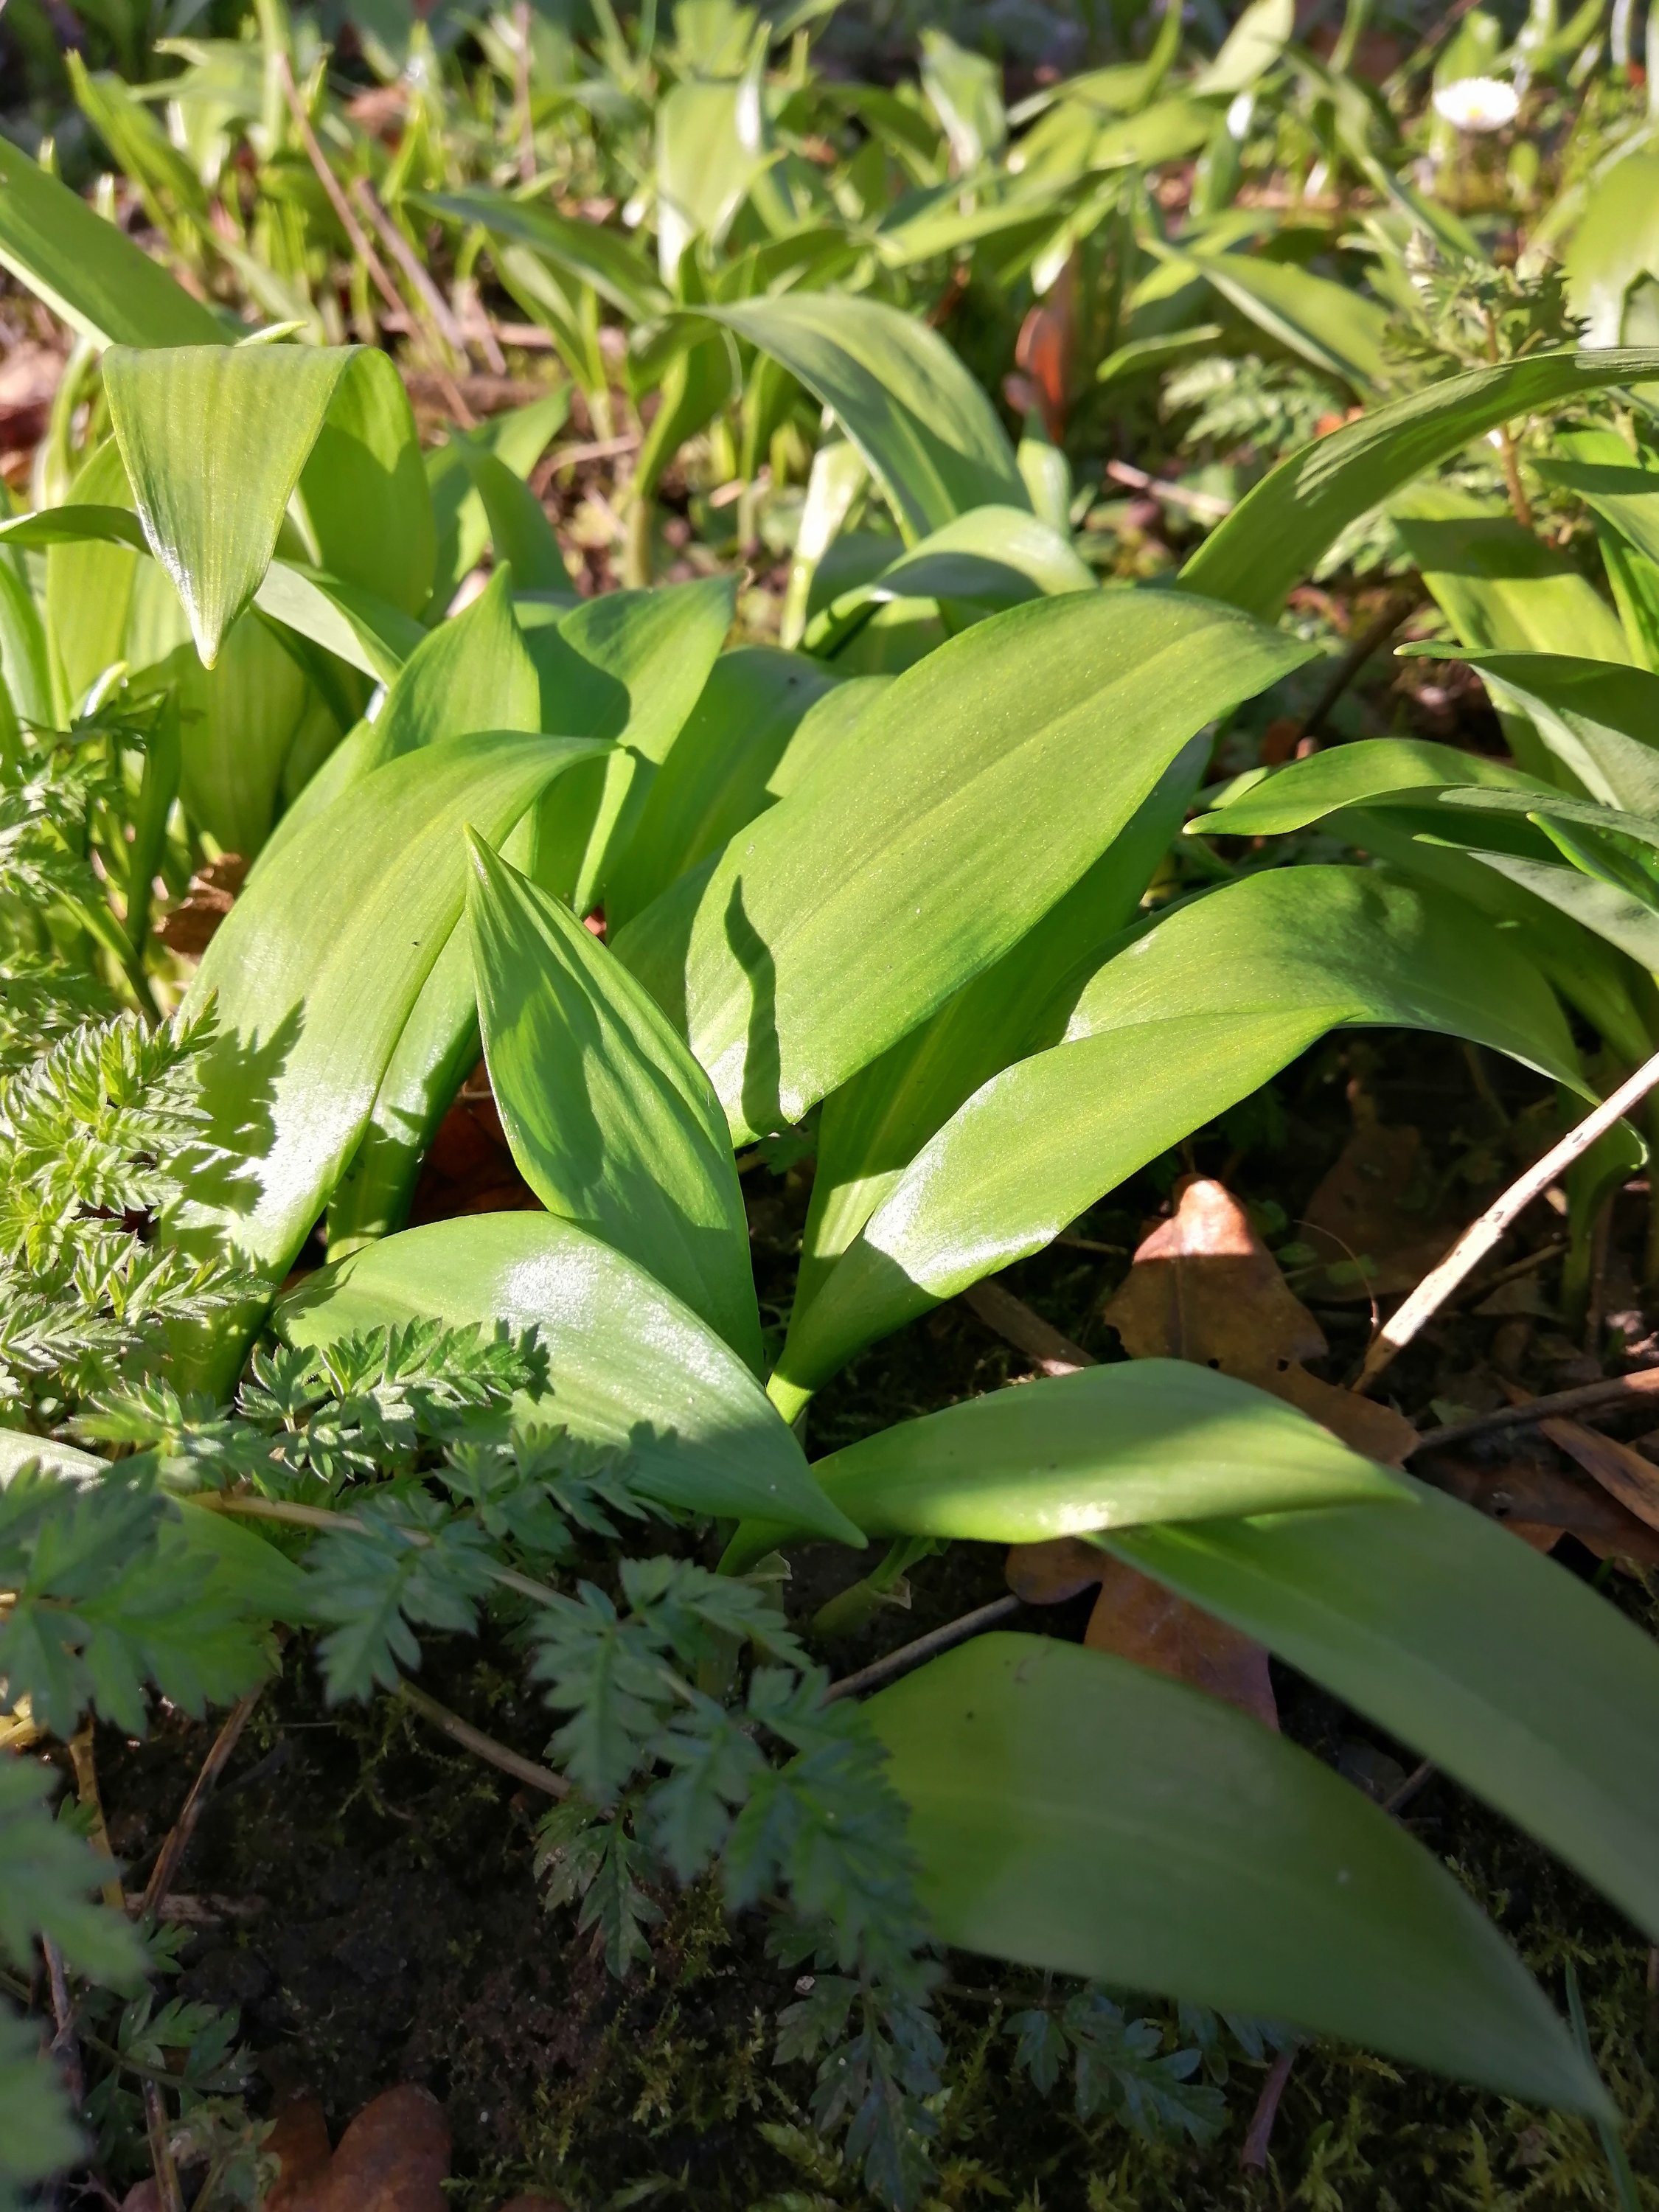
Today I went for a walk with the kids and was delighted to see the first wild garlic leaves beginning to appear in our regular patch. Last year we collected bagfuls of the stuff (in cut and come-again style) and made batches of pesto, garlic bud capers, froze loose washed leaves, made wild garlic salt and wild garlic butter too. I literally finished the last bag from the freezer last week, so it was perfect timing. Obviously it’s not the time to harvest lots, but we gathered a few handfuls of the larger leaves and made a tasty tea.

As with any foraging: be mindful of whose land you are on and only take what you need. Plus, avoid areas where dogs might have been taking a tinkle!

RECIPE

SERVES 4

ingredients

  • 80g wild garlic, washed
  • 40g nuts (I used hazelnuts and brazil nuts- pine nuts work well too)
  • approx 150ml olive oil
  • 50g grated parmesan
  • juice 1/2 lemon
  • salt and pepper to taste
  1. In a food processor or blender, blitz together the wild garlic and nuts until the nuts are fine
  2. Add the rest of the ingredients – the oil and lemon juice should be added gradually until the correct consistency is achieved.
  3. Serve stirred through al dente spaghetti.
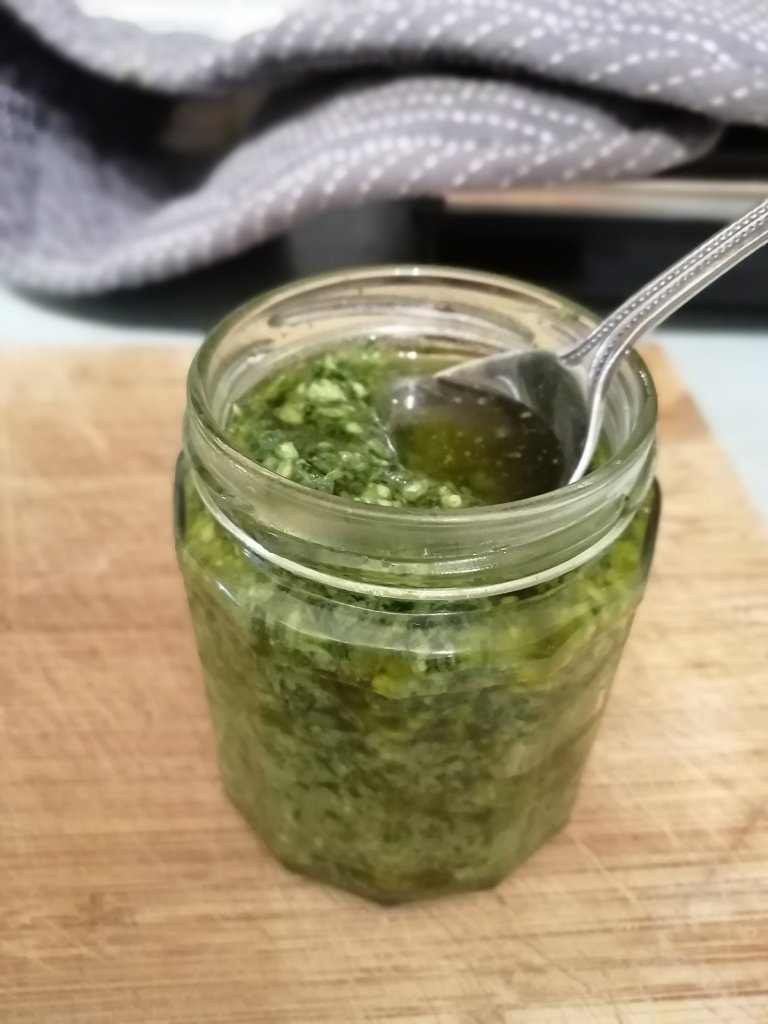
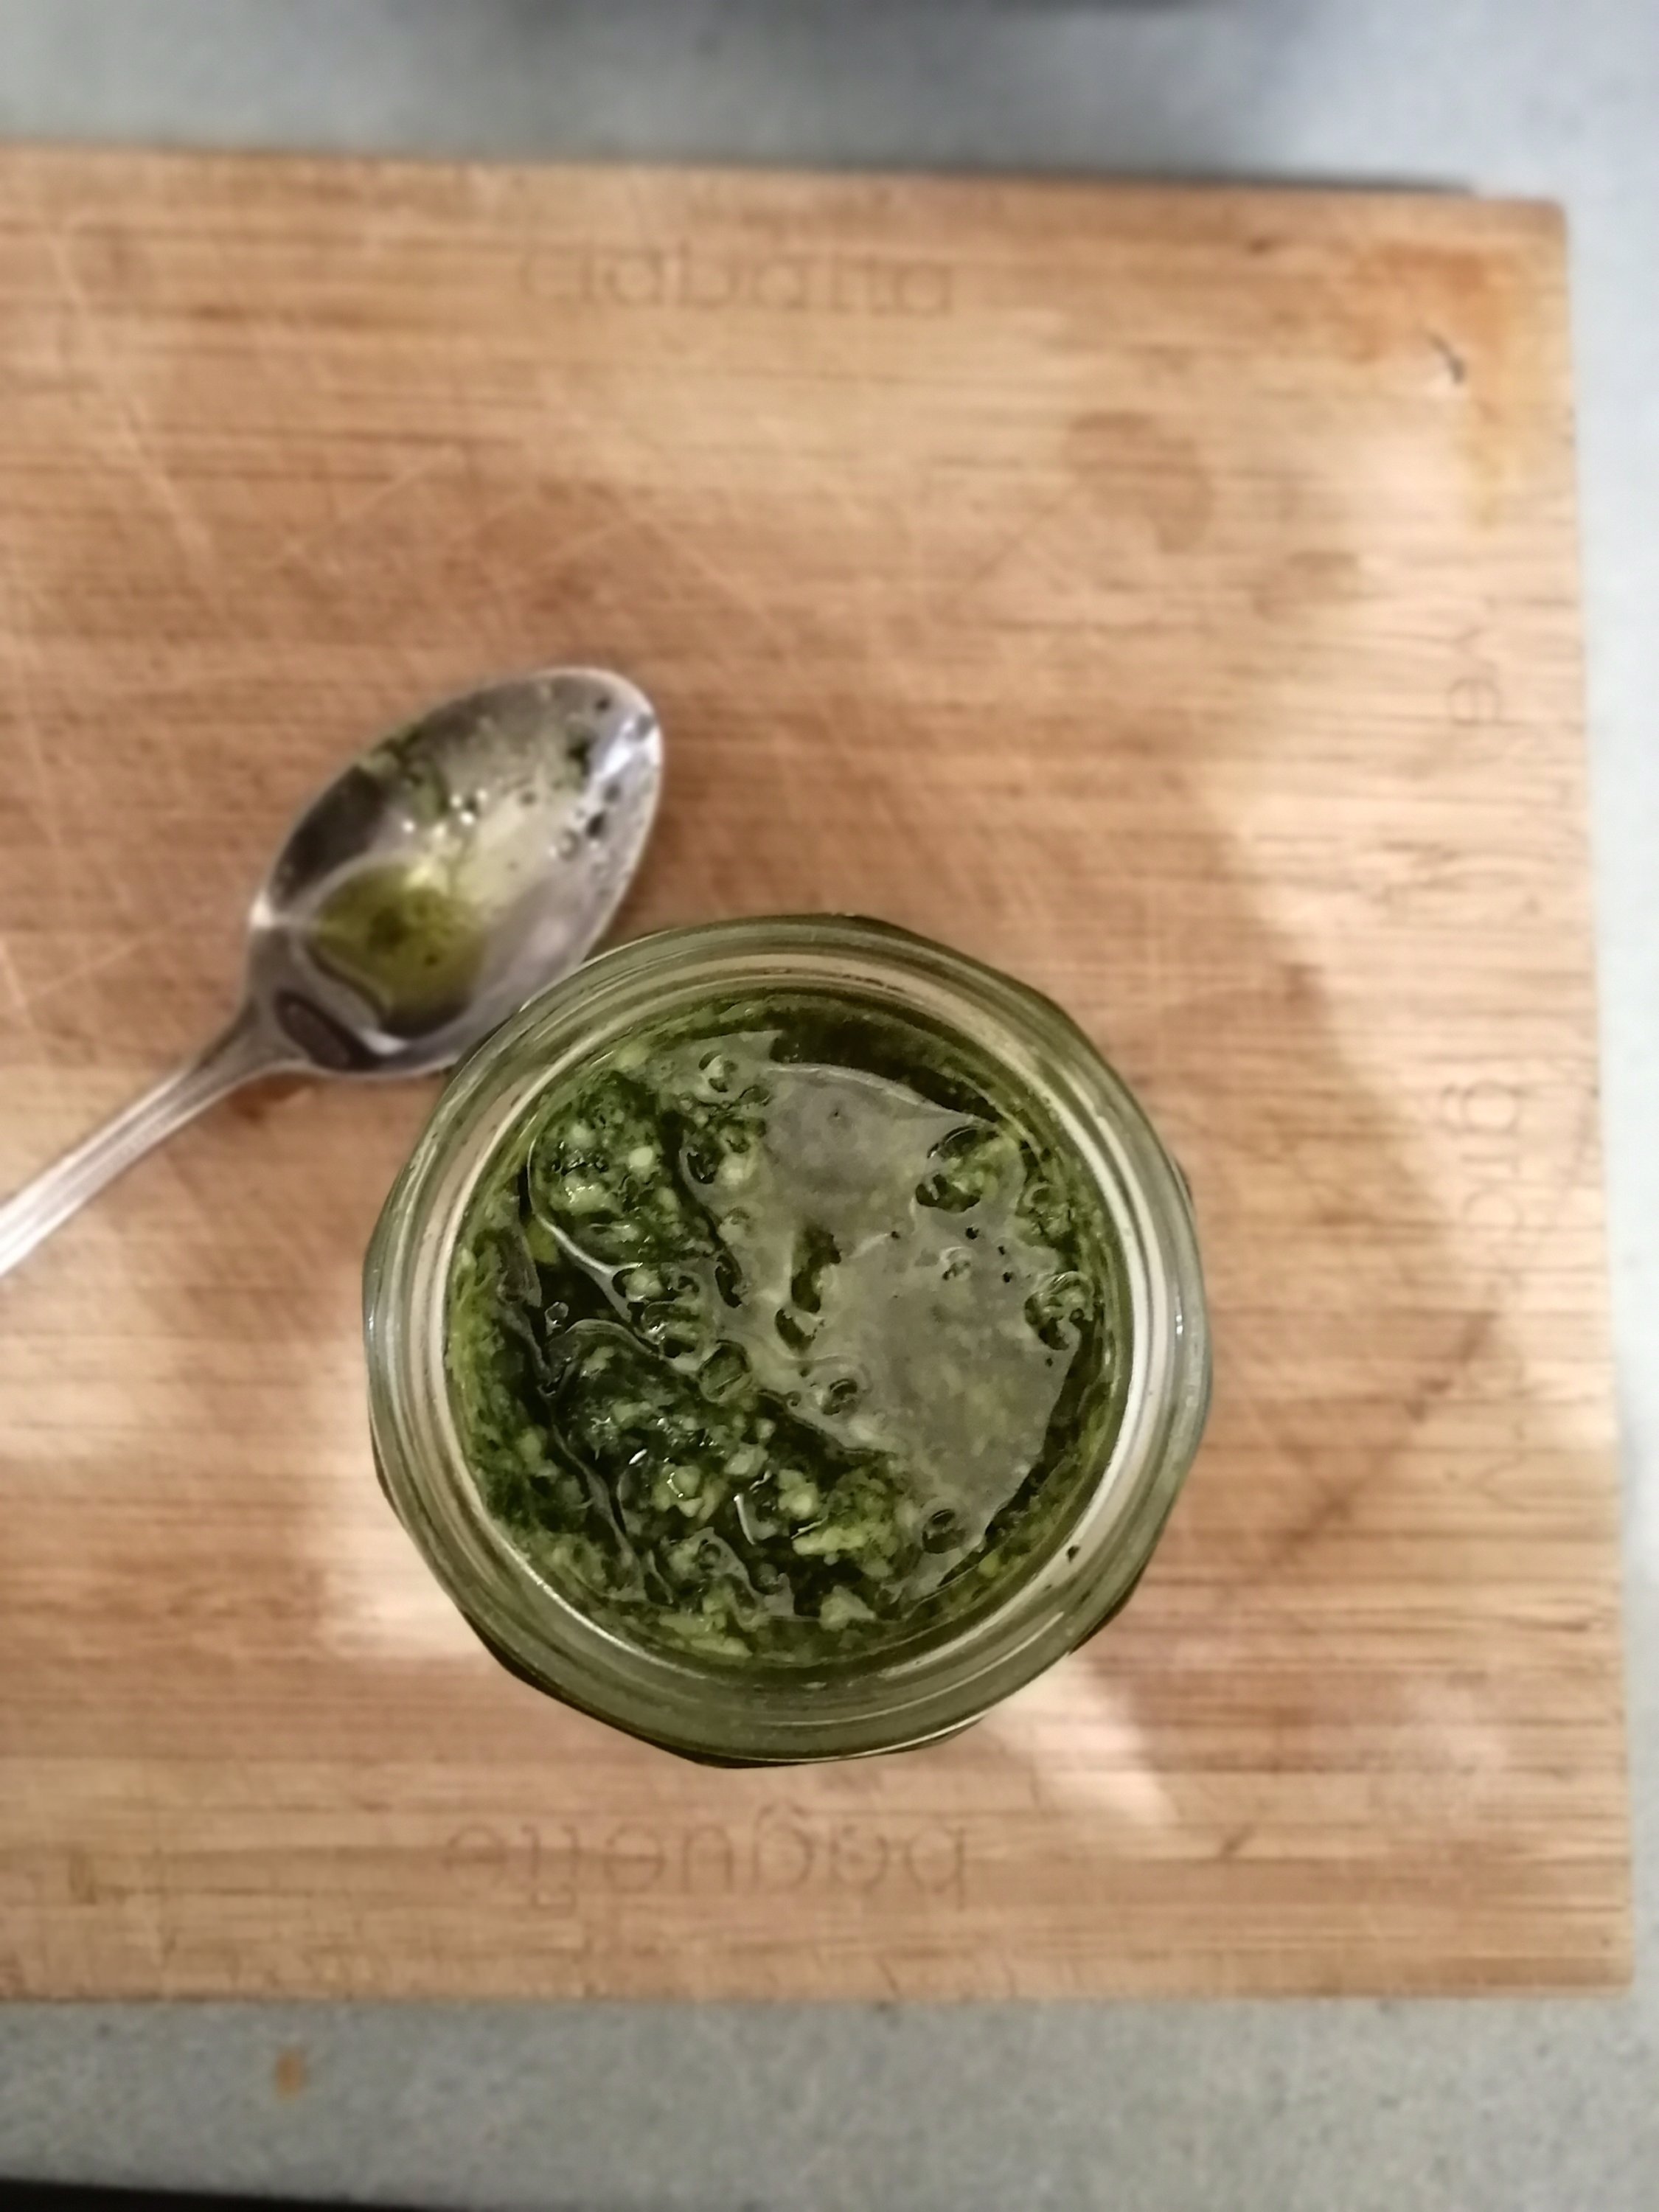
  4. Any leftover pesto can be stored in a clean jar in the fridge. If you wish to make this in bulk, you can freeze in jars, provided you leave room for expansion.

Valentine’s Hidden Heart Cupcakes

  • Heart CupcakeFebruary’s here and a time to celebrate all things romantic! What better way than with a hidden heart cupcake?
    These clever little cupcakes look innocent enough, yet when you cut them in half, there is a little heart hidden inside!
    They look awfully complicated, when in fact they’re pretty simple once you know how.
    This recipe makes half a dozen cupcakes.
    Continue reading

Nanna Gore’s Ginger Biscuits

It would be my lovely Nan’s 96th birthday if she were alive today. She was a whizz at cards, full of silly songs and rhymes and the most amazing baker. Proud to be the best baker in her family (until I came along 😜), she had lots of practice as a farmer’s wife, keeping everyone well-fed with her twice-weekly bakes. Once her and my Grandad Ted had retired, she kept up the baking until she was 90-years-old. It was always a buzz of excitement for me and my siblings when we’d get in from school and spot her biscuit tin on the kitchen table. We knew we were in for a treat. She even used to send me food parcels when I was at university, much to my flatmates’ delight!

Nan & Grandad’s Diamond Wedding Anniversary, 2007

These ginger biscuits were, and still are, my absolute favourite. Nan shared her recipe with me and I used to make these as a young teen as a treat for the family. She used to cook them slightly longer than I do, so get more of a snap. I prefer a slightly chewier bite and have doubled the ginger too for that extra zing. They were a life-saver when I had morning sickness too!

Recipe

makes 24 biscuits

ingredients

  • 340g self-raising flour
  • 225g caster sugar
  • 1tsp bicarbonate of soda
  • 3tsp ground ginger
  • 110g margarine
  • 3tbsp (50g) golden syrup
  • 1 egg

method

  1. Preheat the oven to 175C/350F
  2. Line grease four large baking sheets with butter or line them with baking parchment
  3. Sieve all the dry ingredients into a large bowl
  4. In a small pan, melt together the margarine and golden syrup over a medium heat. Place to one side.
  5. Beat the egg with a fork and add to the dry mixture.
  6. Making a well in the middle, add the melted butter and syrup and mix with a wooden spoon until the mixture comes together.
  7. Bring it together with your hands, remove from the pan and knead lightly until you get a smooth dough.
  8. Cut the dough in two equal pieces. Roll each piece into a short sausage shape. Cut each sausage into 12 pieces.
  9. Roll each piece into a ball and place, well spaced, on the baking parchement. You need to leave approximately 8cm/3 inches between each biscuit. Flatten each ball with your palm.
  10. Bake in the oven for 12-14 minutes until a rich golden colour. You may find the biscuits puff up before they are ready to leave the oven.
  11. Remove from the oven and allow to cool for 5 minutes on the baking sheet. Then transfer to a cooling rack and allow to cool completely.
  12. The biscuits keep well in a tin for up to a week. They also freeze really well and defrost super-quickly. One of my university flatmates was also know to dunk them straight in their tea – frozen – they couldn’t wait that long!
Press the tops down with flat fingers
Leave lots of space between biscuits as they spread lots
Bake until a golden brown
Allow to cool on a baking tray for five minutes
After five minutes, transfer to a wire rack until cooled completely

Super-easy slow cooker pulled lamb

Technically this is pulled hogget, from a local smallholding

I just love that smug feelimg when when you’ve had a busy work day or come in from a long winter walk and there’s nothing to do. This is where slow cookers are absolutely magic. Just pop the ingredients in at breakfast, get on with the business of the day, then come back to find tea’s well on its way and only the spuds and veg to do?

I made this lovely recipe when it was snowing a few weeks ago. This is the first time I’ve made pulled lamb in the slow cooker. Well, technically it’s roast hogget – that means the it’s slightly older : A sheep in its first year is a lamb and its meat is also lamb. A sheep in its second year and its meat are hogget. Older sheep meat is mutton. Hogget has a richer and fuller flavour, yet retains its moisture. Ours was sourced from local artisan producer The Good Life Meat Company who are based a few miles down the road from us.

Pulled meat is great as part of a roast dinner. I often turn it into a posh shepherd’s pie too. Next time we’re thinking we might have it in hot baps too!

I divided this rolled joint up into three 450g/1lb smaller joints when we got it as it was ENORMOUS. It was a good job, otherwise it might not have fitted in the slow cooker, though a 1kg joint would have fitted in easily.

Method

1. Place the joint in the slow cooker – there is no need to oil the joint or cooker, or to brown the joint off first – just stick it in. See! I told you it was easy.

You need to find a joint that will fit your slow cooker with the lid on

2. Peel four garlic cloves and pop into the cooker with two sprigs of rosemary. Season with salt and pepper.

I keep the garlic cloves whole but peeled and collect some rosemary from my garden.

3. Pour in one inch/ two cm water into the cooker and pop the lid on.

4. If 450g joint like mine: cook on low for 6 hours, or high for 4 hours. For a 1kg joint: 8 hours on low, 6 hours on high. I put ours on after breakfast and it was ready mid-afternoon. It’s better to start it off early as you can always reheat the meat just before serving.

Remove from the cooker when joint is cooked. It should fall apart easily.

5. Keep the lid on as much as possible during cooking to allow the meat to steam. Once cooked, turn off the slow cooker and shred with two forks. Cover and place to one side.

Pull the meat apart with two forks

6. You can make a gravy using the juices. Remove the rosemary stalks and crush the garlic cloves with a fork. Then pour the juices into a small pan and thicken over a medium heat using a little cornflour made into a paste, or (and this is not a traditional method but it is easy and tasty) a spoonful of gravy granules and some extra boiling water.

Deeelish!

7. Serve with your favourite accompaniments.

We served ours with crispy roast potatoes and lots of veg.

Imbolc Cake – Lemon, rosemary and poppyseed loaf

The perfect Imbolc celebration cake

The stirrings of Spring… Imbolc: the earth is coming out of her period of hibernation. Buds are forming, spring bulbs are poking out their heads and snowdrops adorn the ground.

There is nothing like cake to celebrate a special occasion and Imbolc (on February 1st- though some people celebrate on 2nd…) is no exception. Jacob and I decided to create our own version today, incorporating ingredients to mark the magic of Imbolc.

A sacred time of year, marking the first stirrings of spring

Imbolc is an ancient Celtic holiday marking the start of the move towards spring (it is the halfway point between winter solstice and spring equinox) and it celebrates the day the sun and fire goddess Brigid returned to earth bringing green to the land. Imbolc was the occasion of a great “Feast of Light” or “Feast of Fire” and all kinds of magical cakes were made in Brigid’s honour. She sounds like my sort of gal!

Brigid was believed to be a teacher of  herbcraft and so many plants and flowers sacred to her were often featured in Imbolc foods. Each came with their own magical purpose. Sun herbs for example brought their powers of purification, protection and prosperity, which were ritual themes throughout all Imbolc celebrations. As the new sun goddess, all forms of light, heat and illumination were sacred to her so Imbolc was marked with bonfires in the fields and blazing hearths and candles at home. These fires strengthened Brigid’s powers and were purification rites burning off the old to make way for the new growth to come. Many people still light candles and lanterns around the home at sunset on Imbolc to welcome in the returning light.

Brigid – my sort of goddess!

This year to celebrate I have come up  this Lemon, Rosemary and Poppy Seed Cake. Rosemary is a herb of the sun and magically associated with purification, cleansing, protection and prosperity, and poppy seeds symbolize new growth, all of which are so ritually important at this time of new beginnings. Plus they taste pretty awesome.

Ingredients

  • 175g butter, softened
  • 2 lemons – grated zest for the cake – juice for the drizzle
  • 1 large sprig fresh rosemary
  • pinch of salt
  • 175g caster sugar
  • 3 large free-range eggs
  • 100g self-raising flour
  • 75g ground almonds
  • 1 tbsp poppy seeds
  • A splash of milk

For the drizzle

  • Juice of the 2 lemons above
  • 75g granulated sugar

Method

  1. Preheat the oven to 180C and line a 2lb (23cmx13cmx7cm) loaf tin with baking parchment.
  2. In an mixer or with an electric hand mixer, cream together the butter, sugar and grated lemon zest until light and fluffy.
  3. Strip the rosemary leaves from the stalk. Finely chop the rosemary and add to the butter mixture.
  4. Beat in half the eggs, followed by half the flour to prevent curdling. Then add the remaining eggs, and then flour. The mixture should be light and fluffy.
  5. Fold in the ground almonds and poppy seeds until well distributed. Add a splash of milk to the mixture if needed. You want a nice dropping consistency.
    • As Imbolc is a time for welcoming the new, you can stir good intentions into your bake – clockwise for what you want to receive – anti-clockwise for anthing you wish to release.
  6. Spoon into the lined tin and bake for 50-55 minutes until a skewer inserted in the middle comes out clean.
  7. In a small bowl or jug, mix together the granulated sugar and lemon juice. With the cake still warm and in the tin: Prick several small holes over the surface of the cake and spoon the lemon drizzle over.
  8. Allow to cool in the tin.
  9. Once cool, remove from the tin and serve in generous slices.
  10. The cake will keep well in a tin for up to a week.
This cake is quite dark in colour, but trust me: it’s perfectly cooked!

Simply scrumptious!